Safety Guidelines for Using Rotary Burrs: Are You Protecting Your Workshop Properly?
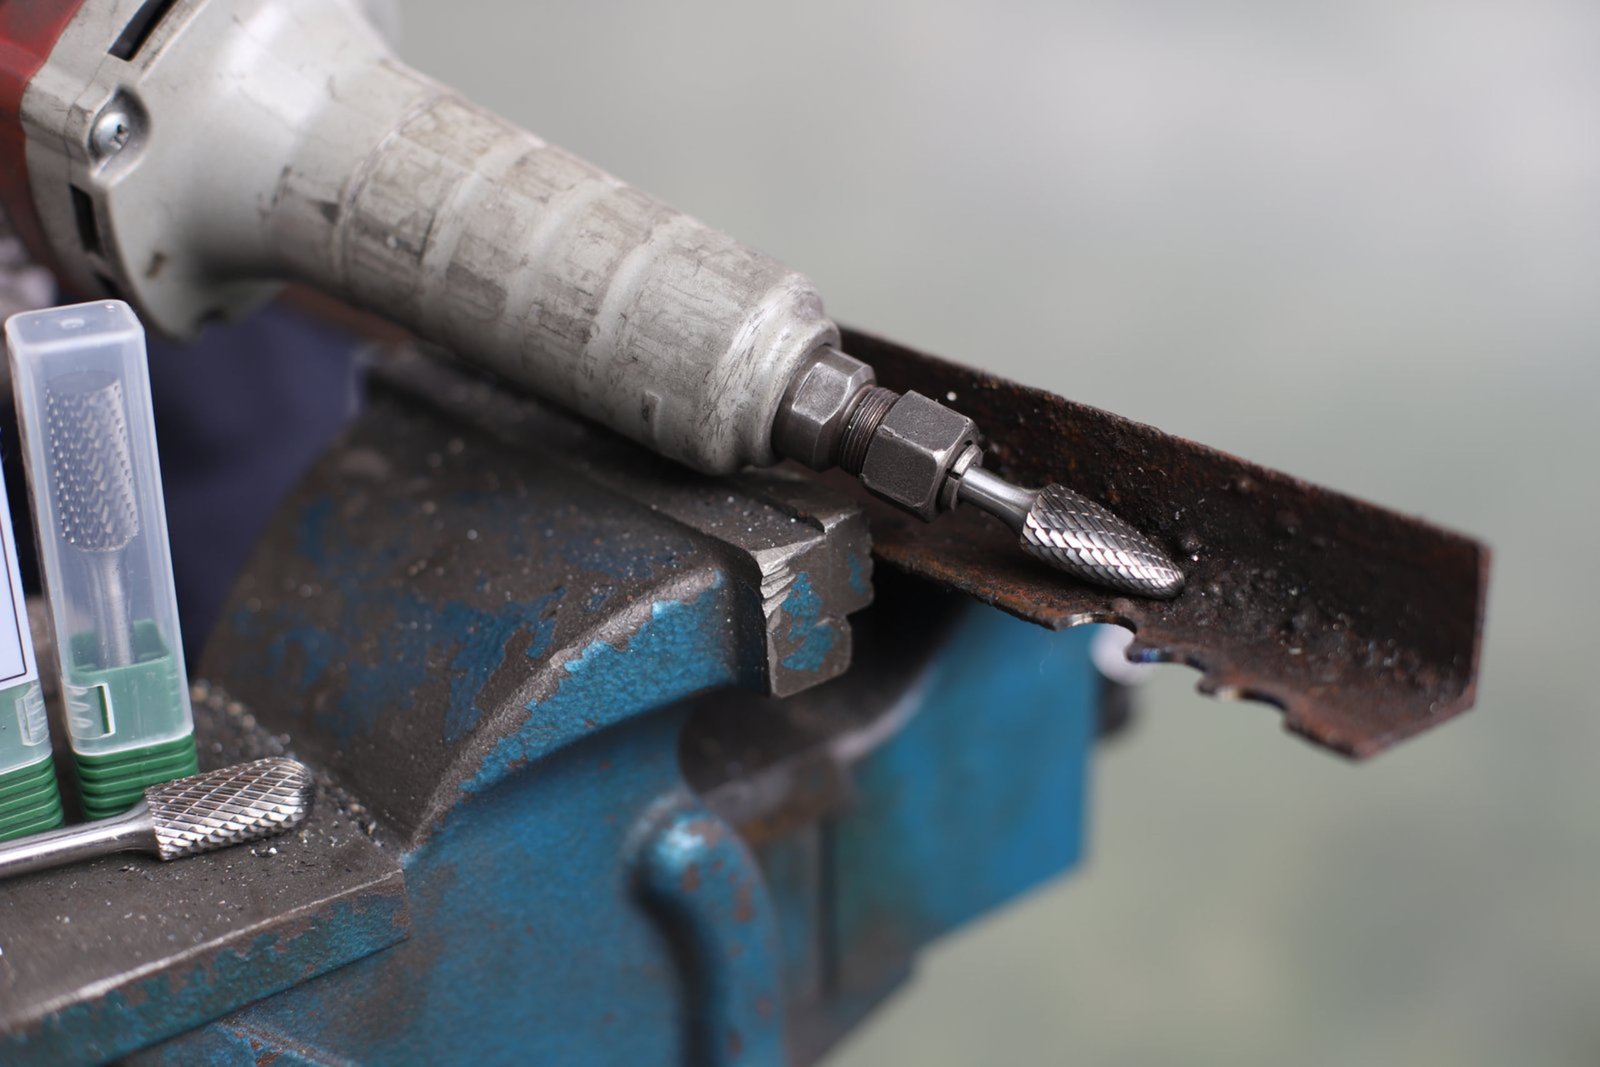
Workshop environments where rotary burrs operate daily face constant risks—metal shavings flying at high speeds, burrs slipping from workpieces, and tools breaking mid-operation. These hazards aren't just theoretical. I've witnessed operators suffering eye injuries from debris and hand lacerations from loss of control during grinding operations. The combination of high-speed rotation and hard materials creates a unique danger profile that demands comprehensive safety protocols.
Proper safety procedures for rotary burrs require five critical elements: appropriate personal protective equipment (PPE) including safety glasses and gloves, secure workpiece clamping, correct RPM settings matching burr specifications, regular tool inspection before each use, and maintaining a clean workspace free of debris that could cause slipping or catch fire from sparks. Following these guidelines reduces workshop injury rates by over 80% according to industrial safety data[^1].
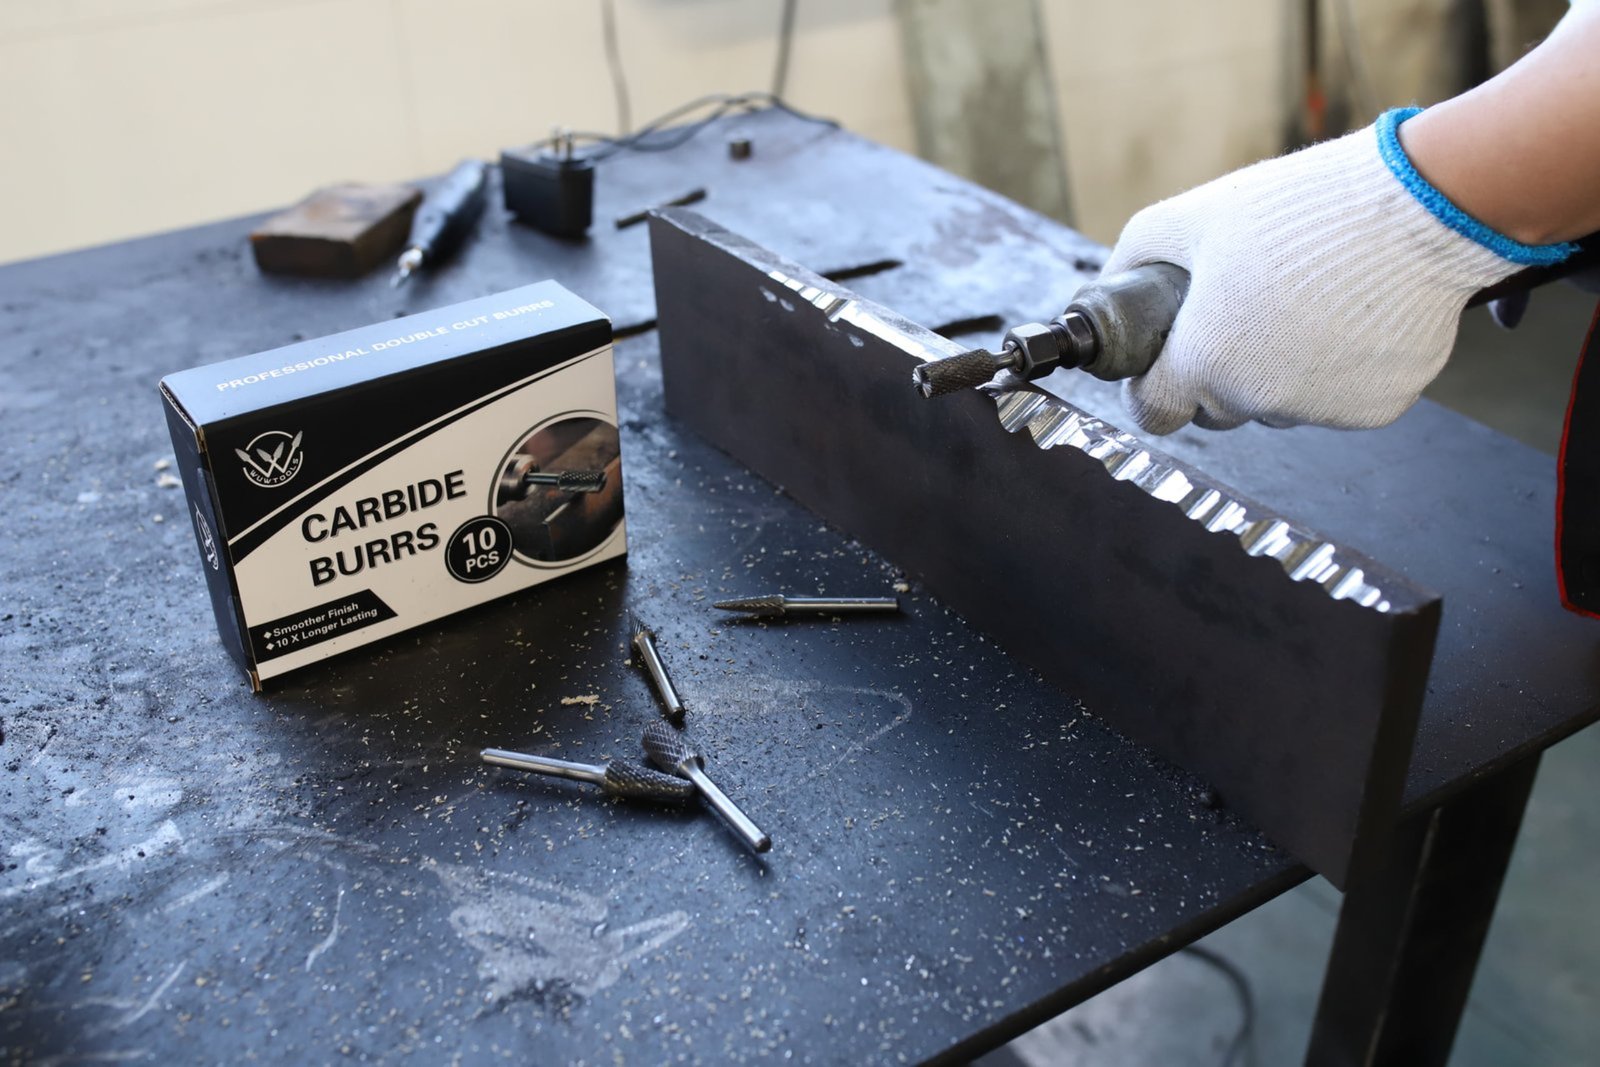
Understanding these safety requirements isn't just about regulatory compliance—it transforms your workshop culture and protects your most valuable asset: your team. Let me walk you through each safety element based on real workshop conditions and the specific challenges I've encountered with carbide rotary burrs.
What Personal Protective Equipment is Essential for Rotary Burr Operations?
The moment a rotary burr contacts metal, your workshop becomes a high-risk environment. Sparks, metal particles, and microscopic debris travel at velocities exceeding 100 feet per second[^2]. Without proper barriers between these hazards and your operators, injuries become inevitable.
Mandatory PPE for rotary burr work includes ANSI Z87.1-rated safety glasses[^3] with side shields, nitrile-coated or leather work gloves rated for abrasion resistance, hearing protection when operating above 85 decibels[^4], steel-toed boots, and fitted work clothing without loose elements that could catch in rotating equipment. Additional respiratory protection becomes necessary when working with materials producing hazardous dust.
Eye Protection Requirements
Safety glasses represent your first defense line, but not all eye protection meets workshop standards. I specify only impact-rated glasses meeting ANSI Z87.1+ standards—the plus symbol indicates high-impact certification. Standard prescription glasses don't qualify, even with side shields added afterward.
For extensive grinding sessions, I recommend full-face shields worn over safety glasses. This dual-layer approach protects against larger debris while maintaining impact resistance if particles penetrate the shield perimeter. The face shield also prevents the accumulation of metal dust on skin, reducing dermatological irritation.
Clear lenses work for most applications, but darker shades help when sparks generate intense light. However, never sacrifice visibility for glare reduction—if you can't clearly see your work, positioning errors increase accident risk.
Hand Protection Specifications
Glove selection requires balancing protection against dexterity. Heavy leather welding gloves offer excellent abrasion resistance but reduce tactile feedback critical for precise burr control. I prefer nitrile-coated knit gloves with reinforced palms—they provide cut resistance while maintaining enough sensitivity to detect vibration changes indicating potential problems.
Avoid cotton gloves entirely. They catch on rotating burrs, pulling hands toward danger rather than protecting them. Similarly, damaged gloves with separated seams or exposed thread create entanglement hazards.
Size matters more than many realize. Oversized gloves bunch at fingertips, reducing precision. Undersized gloves fatigue hands quickly and may tear during use. Proper fitting gloves should conform to your hand shape without restricting movement.
Respiratory Considerations
Carbide rotary burrs generate fine particulate matter when grinding steel, aluminum, or exotic alloys. Particle size often falls below 10 microns—small enough to penetrate deep into lung tissue[^5]. For occasional use in well-ventilated areas, basic dust masks suffice. Regular grinding operations demand NIOSH-approved N95 respirators minimum.
When working with materials like stainless steel (which produces hexavalent chromium)[^6] or aluminum (generating combustible dust), upgrade to powered air-purifying respirators (PAPR). These provide positive pressure preventing contaminated air infiltration while reducing breathing resistance during extended work periods.
Hearing Protection Protocols
Rotary burrs operating at 20,000+ RPM generate noise levels frequently exceeding 90 decibels. OSHA mandates hearing protection above 85 decibels for eight-hour exposures[^7]. Even brief exposures at higher levels cause cumulative damage.
Disposable foam earplugs offer 29-33 dB noise reduction[^8] when properly inserted. Alternatively, earmuff-style protection provides 22-27 dB reduction with easier donning/doffing for intermittent work. For maximum protection, I combine both methods during extended high-noise operations.
How Do You Properly Secure Workpieces to Prevent Slippage?
Workpiece movement during burr operation creates the single most common accident scenario I've documented. When a part shifts unexpectedly, operators instinctively tighten their grip—bringing hands closer to the rotating cutting edge exactly when control has been compromised.
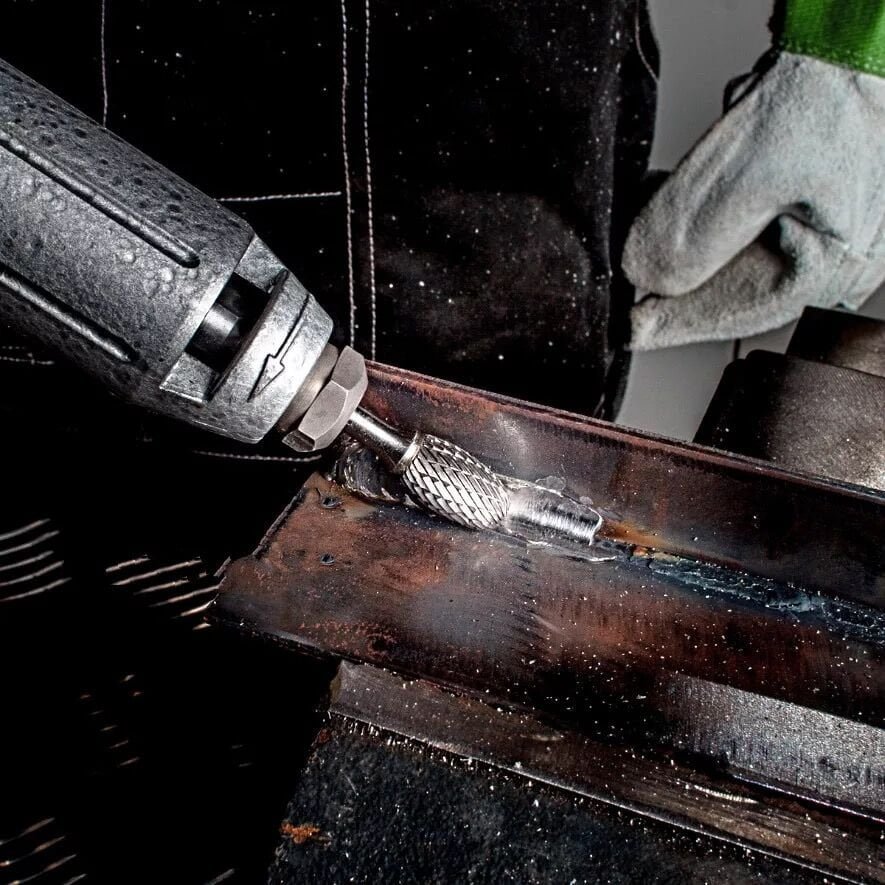
Effective workpiece securing requires mechanical clamping systems rated for the torque generated during burr contact. Acceptable methods include bench vises with minimum 4-inch jaw width, C-clamps with swivel pads distributing pressure across 2+ square inches, dedicated fixture plates with toe clamps, or CNC machine tool holders. Hand-holding workpieces during rotary burr operations is never acceptable regardless of part size.
Vise Selection and Setup
Bench vises used for rotary burr work need substantial mass—lightweight vises walk across benchtops under operational forces. I specify vises weighing at least 40 pounds with bases bolted through work surfaces into underlying structures. The jaw width should accommodate your typical workpiece dimensions with at least one inch additional capacity on each side.
Jaw surfaces matter significantly. Smooth hardened jaws slip on polished materials. I maintain two jaw sets: serrated steel jaws for rough stock and aluminum soft jaws for finished surfaces requiring protection. The serrations bite into material, preventing rotation even under substantial torque.
Positioning affects stability dramatically. Place workpieces deep into jaw throats rather than gripping edges. This maximizes contact area and reduces cantilever forces trying to tip parts upward. For cylindrical work, use V-blocks within vise jaws to prevent rolling.
Clamping Force Calculations
Insufficient clamping force allows movement; excessive force deforms workpieces. For steel parts up to 0.125 inches thick, I apply moderate hand pressure on vise handles—approximately 30-40 pounds force. Thicker materials tolerate higher clamping without deformation.
Aluminum and soft metals require reduced clamping pressure. I often insert brass or aluminum shims between jaws and workpieces to distribute force and prevent marring. These shims also increase friction coefficient, allowing secure holding with less total pressure.
Test security before powering tools. Attempt to move the workpiece by hand in multiple directions. Any detectable movement means insufficient securing—recalamp before proceeding.
Fixturing for Complex Geometries
Standard vise jaws can't accommodate all shapes. Custom fixtures solve this challenge. For our high-volume customers, we recommend dedicated aluminum fixture plates with custom-machined pockets matching part profiles. These fixtures support complex geometries while exposing only the surfaces requiring burr work.
Toggle clamps mounted to fixtures provide rapid securing/releasing for production environments. Position clamps to apply force perpendicular to primary burr movement directions. This arrangement prevents the burr from wedging under clamps or prying parts loose.
For one-off or prototype work, vacuum fixtures work surprisingly well. Industrial vacuum systems generating 20+ inches mercury create substantial holding force across large surface areas. However, verify vacuum integrity before each operation—leaks allow sudden part release.
What RPM Settings and Operational Speeds Prevent Tool Failure?
Operating rotary burrs outside their designed speed ranges creates dangerous conditions. Excessive speeds cause carbide teeth to fracture, sending sharp fragments across the workspace. Insufficient speeds load cutting edges beyond their strength, resulting in catastrophic shank failures that turn the entire burr into a projectile.
Correct RPM for carbide rotary burrs depends on burr diameter and material being cut. General guidelines suggest 12,000-15,000 RPM for 1/4-inch diameter burrs, 9,000-12,000 RPM for 1/2-inch burrs, and 6,000-9,000 RPM for 3/4-inch burrs when working steel. Softer materials like aluminum tolerate higher speeds, while harder materials demand reduced RPM to prevent premature wear and breakage. Always consult manufacturer specifications before operation.
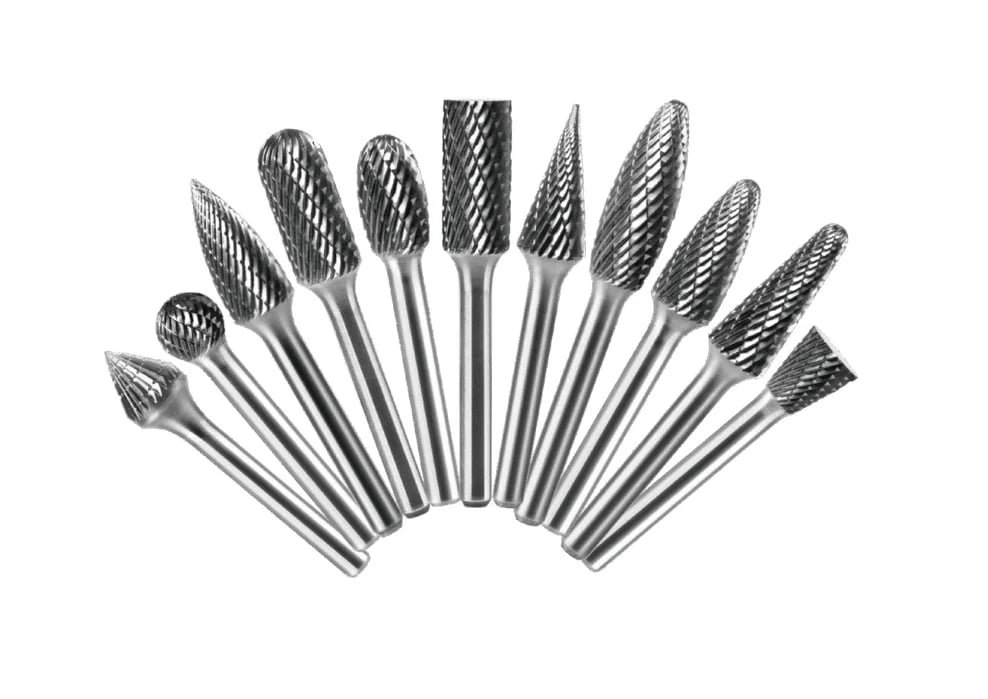
Understanding Surface Speed Relationships
The critical factor isn't RPM alone—it's surface feet per minute (SFM). A small-diameter burr spinning at 15,000 RPM generates much lower surface speed than a large burr at the same RPM. Surface speed directly correlates with cutting efficiency and tool life.
For carbide rotary burrs on steel, optimal surface speeds range from 200-400 SFM[^9]. The formula converting RPM to SFM is: SFM = (Diameter × π × RPM) / 12. This mathematical relationship explains why larger burrs require proportionally lower RPM to maintain safe surface speeds.
I've encountered workshops using single-speed grinders for all burr sizes—a recipe for either tool breakage or inefficient cutting. Variable-speed tools capable of 5,000-25,000 RPM provide the flexibility needed for different burr dimensions and materials.
Material-Specific Speed Adjustments
Steel cutting establishes baseline speeds, but other materials demand adjustments:
| Material Type | Speed Adjustment vs Steel | Specific Considerations |
|---|---|---|
| Aluminum | +50% higher RPM | Risk of material loading in flutes |
| Stainless Steel | -20% lower RPM | Generates excessive heat at high speeds |
| Cast Iron | Standard steel speeds | Produces abrasive dust requiring cleanup |
| Titanium | -30% lower RPM | Work hardens rapidly under heat |
| Plastics | +100% higher RPM | Melting risk if feed rate too slow |
These adjustments prevent common failures I've documented. Aluminum loaded into carbide flutes at excessive speeds creates vibration leading to shank fractures. Stainless steel's work-hardening characteristics mean heat buildup from high speeds creates surfaces harder than the carbide itself.
Recognizing Speed-Related Warning Signs
Your rotary burr communicates constantly during operation. Learning its language prevents accidents. Excessive vibration indicates speed mismatch—either too fast causing resonance or too slow creating chatter. Both conditions stress the tool beyond design limits.
Color changes on burr surfaces reveal thermal problems. Straw-yellow tinting on carbide indicates temperatures approaching 400°F[^10]—still safe but approaching limits. Blue or purple coloring means exceeding 600°F, causing carbide grain structure degradation and imminent failure.
Sound patterns matter equally. Smooth, consistent cutting produces steady tones. Squealing indicates insufficient speed or improper contact angle. Grinding or scraping sounds suggest the burr has dulled and requires replacement regardless of visual condition.
Tool Holder Influence on Safe Speeds
Even correct RPM settings become dangerous if tool holders lack proper balance and grip. Collect chucks must secure burr shanks with at least 3/4-inch insertion depth. Shorter insertion creates cantilever forces during cutting that flex the shank, causing premature fatigue failures.
I exclusively use ER collet systems for precision burr work. These collets grip the entire shank circumference uniformly, preventing the runout that creates vibration and uneven cutting forces. Standard drill chucks, while convenient, often introduce 0.003-0.005 inches runout—enough to cause noticeable problems.
Balance affects safety significantly at high speeds. A burr-collet assembly with 0.010 inches runout operating at 20,000 RPM generates substantial vibration that fatigues both the tool and operator. This vibration also reduces cutting efficiency, tempting operators to apply excessive pressure that compromises control.
What Inspection Procedures Should Precede Each Use?
The five minutes spent inspecting tools before operation prevents hours of injury recovery and production downtime. I've investigated numerous accidents where simple visual inspection would have identified the failure mode before it became dangerous. Pre-use inspection isn't optional—it's the foundation of every safe operation.
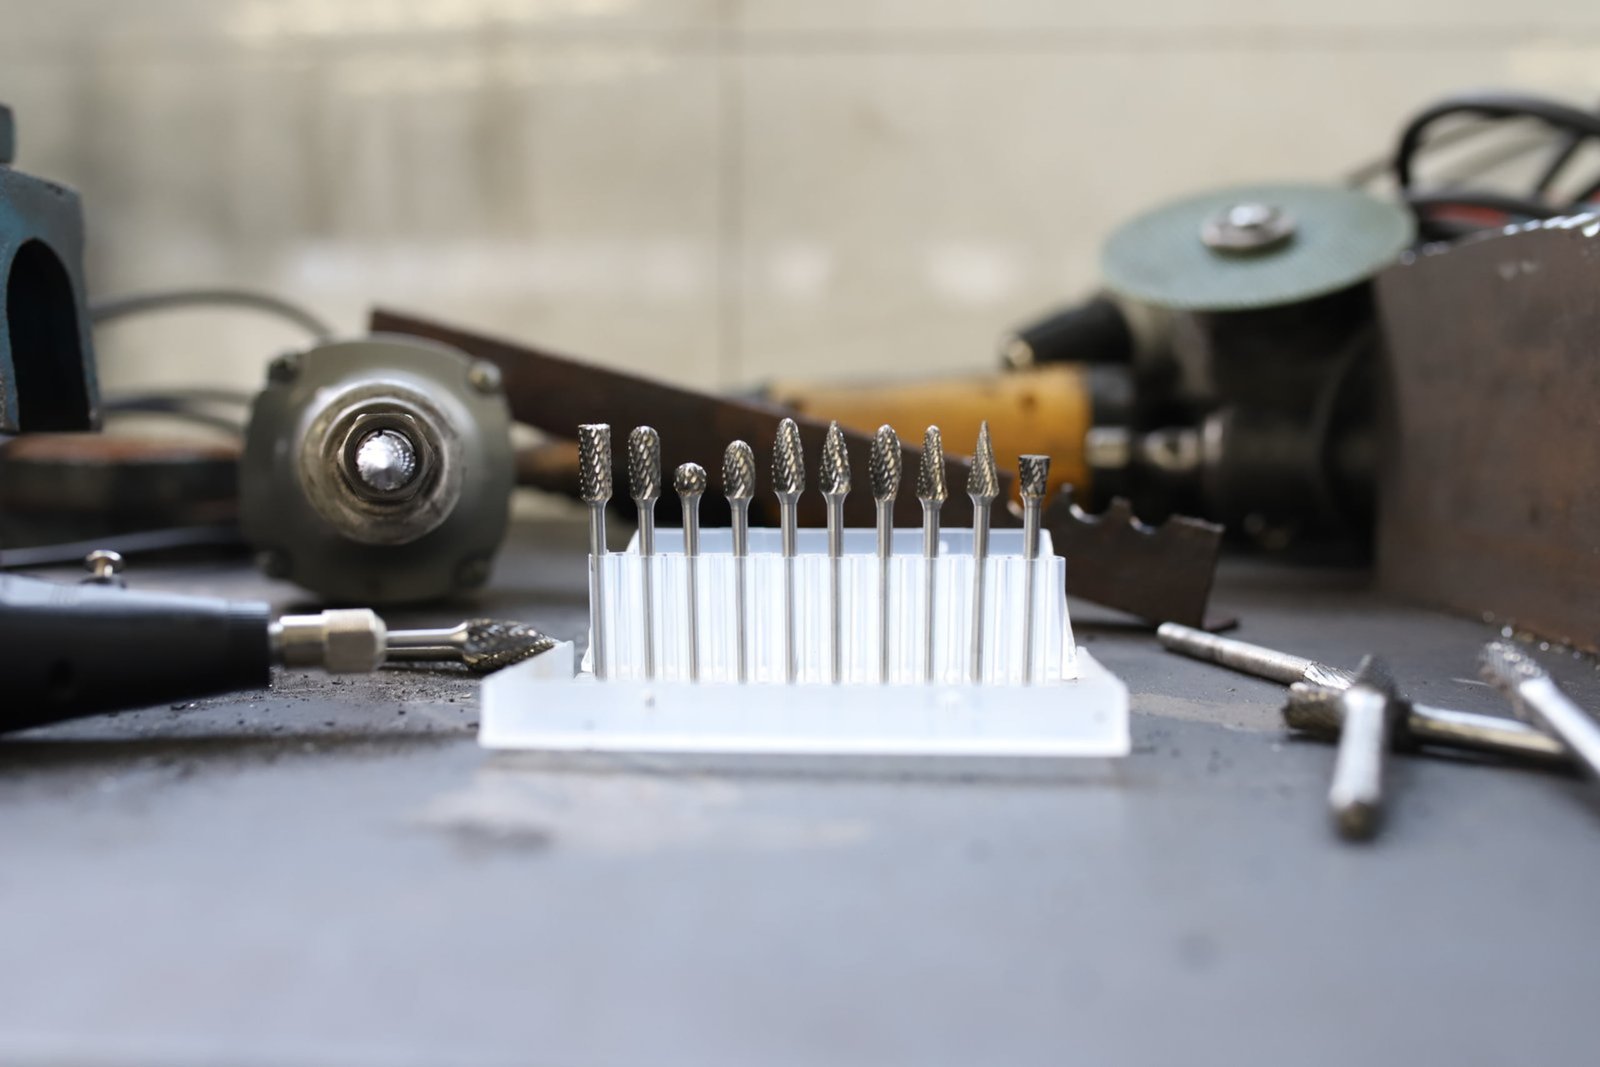
Comprehensive pre-use inspection examines five critical areas: carbide cutting surfaces for chips or cracks using 10x magnification, shank condition checking for bending or stress marks, overall burr balance by spinning in fingers to detect wobble, secure attachment of carbide to shank without movement, and cutting edge sharpness verified by visual examination and light reflection patterns. Any deficiency discovered during inspection requires immediate tool replacement.
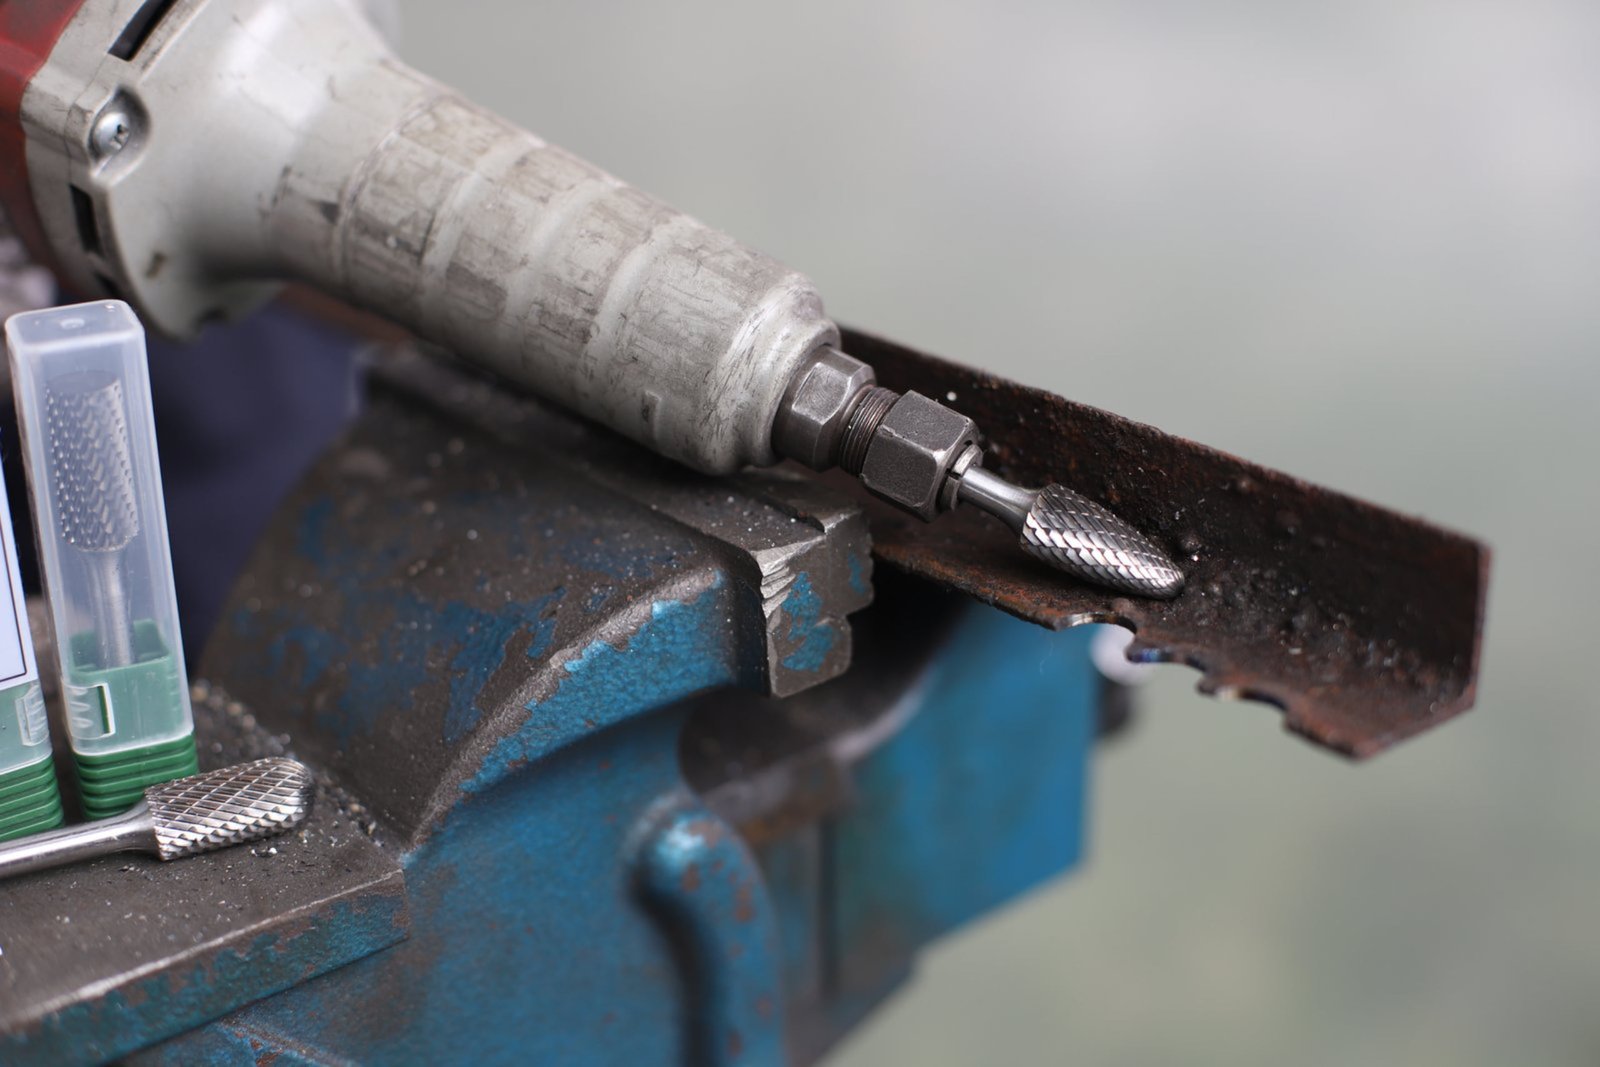
Visual Inspection Techniques
Hold burrs between your workspace and a strong light source. Rotate slowly while examining each cutting edge. Sharp carbide reflects light as a thin, consistent line along each tooth. Worn edges appear rounded, reflecting light across broader areas. Chipped edges create interruptions in the reflection pattern—these defects concentrate stress and initiate catastrophic failures.
I keep a 10x jeweler's loupe at each workstation. Magnification reveals micro-cracks invisible to naked eyes. These cracks propagate rapidly under operational stresses, causing sudden fragmentation. Any visible crack, regardless of size, condemns the burr for immediate disposal.
Inspect the carbide-to-shank joint carefully. Quality rotary burrs feature brazed joints with smooth fillet transitions. Gaps between carbide and shank, or visible braze voids, indicate manufacturing defects or previous damage weakening the assembly. These joints fail suddenly under cutting loads.
Shank Integrity Verification
Roll burr shanks across a flat surface while observing for wobble. Bent shanks, even minor deformations of 0.005 inches, create dangerous vibration at operational speeds. This vibration stresses the carbide head, accelerating failure while making precise control nearly impossible.
Examine shank surfaces for stress risers—small nicks, scratches, or corrosion pits where fatigue cracks initiate. Shanks experience cyclic loading during operation; stress concentrations reduce fatigue life exponentially. I've seen shanks fracture at tiny corrosion pits barely visible without magnification.
Check shank diameter with micrometers when precision matters. Worn collect chucks combined with undersized shanks create excessive runout. The specification tolerance for 1/4-inch shanks is typically +0.0000/-0.0005 inches. Shanks measuring below 0.2495 inches should be flagged for replacement.
Functional Testing Methods
Before installing in powered tools, I perform hand-spin tests. Chuck the burr in a drill press or milling machine spindle without power. Rotate by hand while observing the cutting head. Smooth rotation indicates proper balance. Wobbling or vibration suggests internal damage or manufacturing defects.
For critical applications, I use dial indicators measuring runout at the burr's largest diameter. Total indicated runout should not exceed 0.002 inches for precision work. Higher runout values indicate bent shanks, improperly mounted carbide heads, or defective collets requiring replacement.
Listen during these tests. Damaged bearings in the carbide head produce subtle clicking sounds during rotation. Internal cracks generate faint ticking as surfaces separate and contact. Any abnormal sound during unpowered rotation becomes amplified and dangerous at operational speeds.
Documentation and Tracking
For production environments, I implement tool tracking systems recording each burr's usage hours and inspection results. Carbide rotary burrs have finite service lives—typically 40-60 hours depending on materials and operational intensity. Tracking prevents using tools beyond safe service limits.
Color-coded tags work effectively for simple tracking. Green tags indicate new tools passing inspection. Yellow tags mark tools with 50% estimated life remaining. Red tags identify tools approaching replacement thresholds. This visual system allows any operator to quickly assess tool condition.
Maintain inspection logs documenting who inspected each tool, when, and results. This documentation serves two purposes: it creates accountability ensuring inspections occur consistently, and provides failure analysis data if accidents occur despite preventive measures.
How Does Workspace Organization Reduce Accident Risk?
The condition of your workspace directly influences operational safety as much as the equipment itself. Cluttered work areas create trip hazards, obscure safety equipment, and complicate emergency responses. I've documented incidents where operators couldn't quickly access emergency stops because workbenches accumulated debris blocking access paths.
Safe rotary burr workspaces require dedicated zones for specific activities: a secured work area with 4-foot clearance radius around grinding operations, organized tool storage preventing damage and mix-ups, dedicated disposal containers for hot debris and used burrs, adequate task lighting providing 50+ foot-candles illumination[^11], and appropriate ventilation removing airborne particulates at source through local exhaust systems. Additional considerations include spark-resistant surfaces, fire extinguishers within 25 feet, and first aid supplies accessible within 30 seconds.
 Z87.1 standard establishes requirements for occupational and educational eye and face protection devices, with the Z87.1+ marking indicating devices that have passed high-impact testing involving a 1-inch steel ball dropped from 50 inches. Evidence role: definition; source type: institution. Supports: the ANSI Z87.1 standard and its requirements for occupational eye protection. [^4]: "1910.95 - Occupational noise exposure.", http://www.osha.gov/laws-regs/regulations/standardnumber/1910/1910.95. OSHA's Hearing Conservation Program (29 CFR 1910.95) requires employers to implement hearing protection measures when workers are exposed to noise levels at or above 85 decibels averaged over an 8-hour work shift. Evidence role: general_support; source type: government. Supports: regulatory requirements for hearing protection at 85 decibel exposure levels. [^5]: "Thoracic and respirable particle definitions for human health ...", https://pmc.ncbi.nlm.nih.gov/articles/PMC3640939/. Respiratory physiology research establishes that particles smaller than 10 micrometers (PM10) can bypass upper respiratory defenses, with particles below 2.5 micrometers capable of reaching deep lung tissue including alveoli where gas exchange occurs. Evidence role: mechanism; source type: research. Supports: the relationship between particle size and respiratory system penetration. [^6]: "Hexavalent Chromium - Overview", http://www.osha.gov/hexavalent-chromium. OSHA and NIOSH recognize that thermal processes involving stainless steel, including grinding and welding, can generate hexavalent chromium (Cr(VI)) compounds through oxidation of chromium present in the alloy, creating a respiratory hazard requiring appropriate controls. Evidence role: general_support; source type: government. Supports: generation of hexavalent chromium during stainless steel grinding operations. Scope note: The amount of hexavalent chromium generated varies with temperature, duration, stainless steel composition, and ventilation conditions. [^7]: "1910.95 - Occupational noise exposure.", http://www.osha.gov/laws-regs/regulations/standardnumber/1910/1910.95. Under 29 CFR 1910.95, OSHA requires employers to administer a hearing conservation program when employee noise exposure equals or exceeds an 8-hour time-weighted average of 85 decibels, including providing hearing protection and conducting audiometric testing. Evidence role: general_support; source type: government. Supports: OSHA requirements for hearing protection at specified noise exposure levels. [^8]: "Regulatory Analysis Supporting the Noise Labeling ...", https://nepis.epa.gov/Exe/ZyPURL.cgi?Dockey=9101G8P9.TXT. The EPA requires hearing protection devices to display Noise Reduction Ratings (NRR) based on standardized testing; disposable foam earplugs typically achieve NRR values between 29-33 decibels when properly inserted, representing attenuation under laboratory conditions. Evidence role: statistic; source type: government. Supports: typical noise reduction ratings for disposable foam earplugs. Scope note: Real-world noise reduction is typically 50% or less of the labeled NRR due to improper fitting, insertion technique, and workplace conditions. [^9]: "Speeds and Feeds", https://web.mae.ufl.edu/designlab/Advanced%20Manufacturing/Speeds%20and%20Feeds/Speeds%20and%20Feeds.htm. Machining handbooks and carbide tool manufacturers generally recommend surface speeds of 150-500 SFM for carbide tools cutting steel, with specific values depending on steel hardness, tool geometry, and desired tool life; rotary burrs typically operate in the 200-400 SFM range within this spectrum. Evidence role: generalsupport; source type: education. Supports: recommended surface speeds for carbide cutting tools on steel. Scope note: Optimal speeds vary with specific steel alloy composition, hardness, carbide grade, and whether cutting is continuous or interrupted. [^10]: "Tempering (metallurgy)", https://en.wikipedia.org/wiki/Tempering(metallurgy). Metallurgical references document that steel surfaces develop characteristic oxide colors at specific temperatures, with straw-yellow appearing around 400-450°F; while carbide itself has different oxidation characteristics than steel, similar discoloration patterns on carbide tools indicate comparable thermal exposure. Evidence role: general_support; source type: education. Supports: correlation between metal surface color and temperature exposure. Scope note: Color-temperature relationships vary between materials; carbide discoloration may indicate different temperatures than steel tempering colors, and the presence of coatings or contaminants affects color development. [^11]: "1915.82 - Lighting. | Occupational Safety and Health Administration", https://www.osha.gov/laws-regs/regulations/standardnumber/1915/1915.82. The Illuminating Engineering Society (IES) recommends illumination levels of 50-100 foot-candles for moderately difficult visual tasks and 100-200 foot-candles for difficult tasks requiring precision, with metalworking operations typically falling within or above this range depending on task complexity. Evidence role: general_support; source type: institution. Supports: recommended illumination levels for precision manufacturing tasks. Scope note: Optimal lighting levels depend on task difficulty, worker age, contrast requirements, and duration of visual work; the 50 foot-candle threshold represents a minimum for general manufacturing rather than a universal standard.